Keen-eyed readers may have noticed that I recently added a new category to the Associated Equipment section at the end of my reviews. In addition to listing the speakers, sources, and cables used for a review, I’ve started listing my network setup. For most of the products I review, every note I listen to is streamed over a network. That makes the network an important part of my home-entertainment system.
Unless you get all of your entertainment from physical media -- CDs, BDs, LPs -- your network is probably a critical part of your playback system too. That’s obvious for streaming media -- think Spotify, Tidal, and Qobuz for music, and Netflix and Hulu for video. In many situations, it’s true for locally stored audio files as well. For example, I’m using Wi-Fi for Roon playback -- streaming music from the Mac Mini in my second-floor office, which runs Roon Core, to a Roon endpoint in the main-floor living room.
One can argue whether networking gear makes a difference in sound quality, whether one type of Ethernet cable sounds better than another, or whether hardwired Ethernet sounds better than Wi-Fi. That’s not what this editorial is about. It’s about having a network that works reliably enough for you to count on.
The ideal setup is a fully wired network, which should approach utility-grade reliability -- performance that you can count on (almost) as confidently as your electricity and water utilities. But in most homes, a fully wired network is impractical. You can have network cabling put in if you’re doing a major renovation or building a custom home, but few of us are ever in that position. Or you can go the retrofit route, and have a professional installer snake cables through walls, but that’s expensive and disruptive.
So for most homes, a Wi-Fi network is the default. Maybe a few devices in the same room as the network router will get a wired connection, but devices in other rooms will connect wirelessly. Wi-Fi is great when it works, which in most homes is most of the time. But as most of us have experienced, it’s maddening when it doesn’t. One of the most maddening situations is when music or video playback is interrupted because the A/V component has lost the network connection.
We experienced networking problems in our present home from the time we moved in, in spring 2018. When in the middle of a movie, playback would stop for a minute if the streaming service’s memory buffer ran out, which happened all too often. And computers in remote areas of our home (my wife’s main-floor office, for example) often had problems connecting to the network and to the Internet. I spent hours on the phone with tech-support reps for our Internet service provider (ISP) and the manufacturer of the router I was using at the time (an Apple Time Capsule), trying to troubleshoot the problem, all to no avail. What finally cured our networking headaches was a Google Wifi mesh networking kit, described in detail below. But there are other options.
Network hiccups may happen because your Wi-Fi router doesn’t have enough coverage for your home, and so the signal in the entertainment room is weak. They may happen because other equipment in your home is causing interference with the Wi-Fi signal. In big condo buildings and dense urban neighborhoods, there can be too many Wi-Fi networks vying for the same RF spectrum.
In many cases, you can improve a network’s performance by optimizing the positions of your Wi-Fi router and playback devices such as streamers and computers. Besides minimizing the distance between the router and the client device, you want to minimize the effects of building structures (floors, walls, etc.) on network signals. Also, keep your router and client devices away from potential sources of interference, such as microwave ovens and cordless phones. But if even those measures aren’t enough, you’ll have to look at upgrading your home network.
Power play
Powerline networking is a cheap-and-cheerful solution for network headaches -- it lets you get the reliability of a wired connection in any room in your home without having to string wire from the room with the router to the room with the playback device.
As its name implies, Powerline networking moves Ethernet signals around on your home’s AC wiring. In my experience, it’s pretty well bulletproof, even in homes with old wiring. I’ve used Powerline networking in a 1917 arts-and-crafts home with a mix of modern copper and old knob-and-tube wiring, and it worked fine. Ditto for a 1960s split-level with a mix of copper and aluminum wiring.
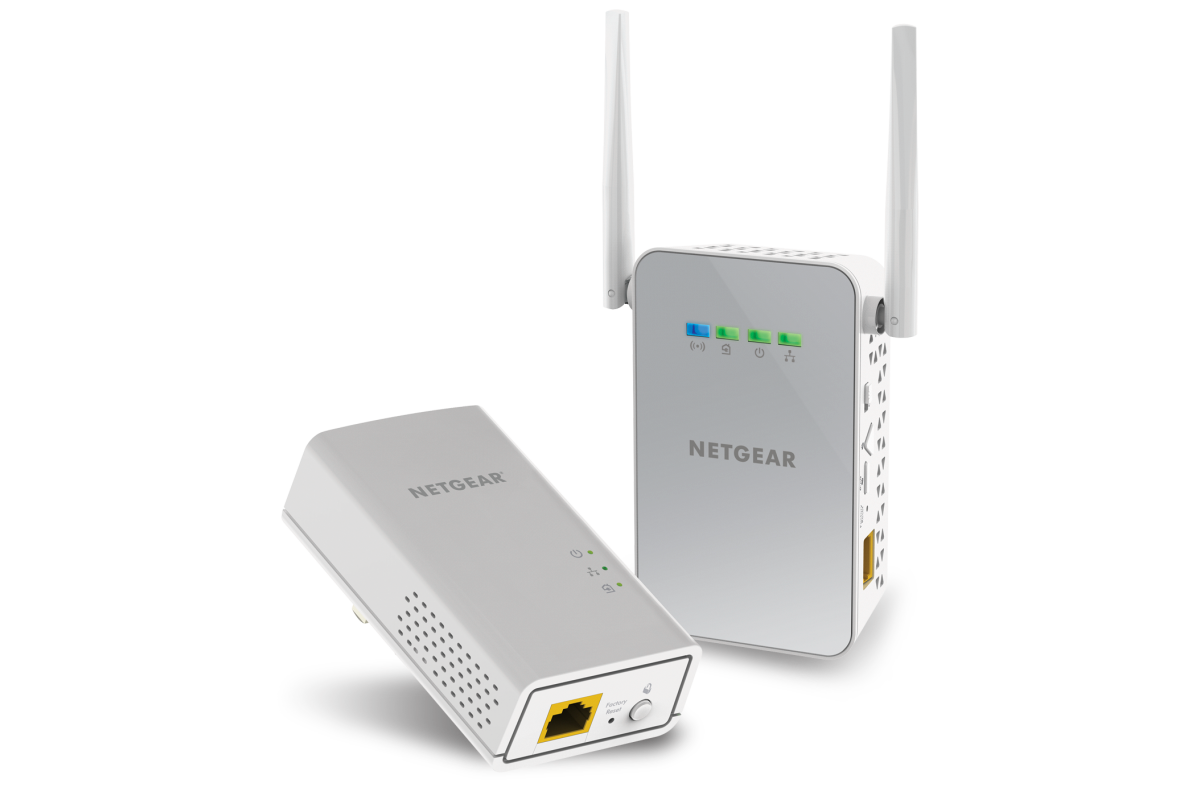
Each Powerline adapter has an AC plug that goes into the wall, plus one or two Ethernet ports. Plug one adapter into an outlet near your network router, then string an Ethernet cable from the Powerline adapter to an Ethernet port on your router. Then, in the room with the device you want to connect to your network, plug another Powerline adapter into the wall, and string an Ethernet cable from the adapter to the device you’re trying to connect. That’s it -- you’re done and connected.
Powerline adapters should be connected directly to a wall outlet. An extension cord is OK, but don’t plug it into a surge suppressor or power conditioner -- that will filter out the Ethernet signals.
Powerline adapters provide specified throughput as high as 2Gbps. A two-adapter starter kit from brands like Netgear or TP-Link will set you back about $100 (all prices USD). If you’re willing to dial back speed, you can get a two-adapter kit rated at 500Mbps for under $50. (As I said: cheap and cheerful.) You can connect other devices in other rooms merely by adding more Powerline adapters.
There are also hybrid Powerline/Wi-Fi adapters that incorporate a Wi-Fi access point. That way, you can have a strong Wi-Fi signal in the area of your home where the hybrid adapter is located, as well as an Ethernet connector. You’ll pay about $120 for a kit comprising one conventional adapter, one hybrid adapter, and a rating of 1Gbps throughput.
I have one reservation about Powerline networking: it adds an RF signal to your AC wiring. Could this compromise the sound quality of high-performance audio systems by contaminating their power source? Because I have no experience using Powerline networking for serious audio applications, I asked AudioQuest and Torus Power about it.
Adding anything other than power to the power line “will greatly diminish signal quality,” said Garth Powell, director of AudioQuest’s power division. The induced noise will modulate low-level signals, and that noise will eventually find its way to the D/A converter, Powell explained. Adding a well-designed power conditioner may improve performance, he added, but it won’t necessarily nullify the damage introduced by Powerline networking.
Torus Power says that its line conditioners will remove interference caused by Powerline networking. “Our units are designed so that connected components are isolated from anything that’s on the voltage lines,” explained Kevin Main, president of Torus Power. “They have large isolation transformers that act as low-pass filters, preventing anything over 2kHz from passing through.”
Large power conditioners are definitely an option in dedicated listening rooms, and can address a host of ills beyond those introduced by Powerline networking adapters -- but they may be impractical in multi-use living spaces.
Cutting the cord
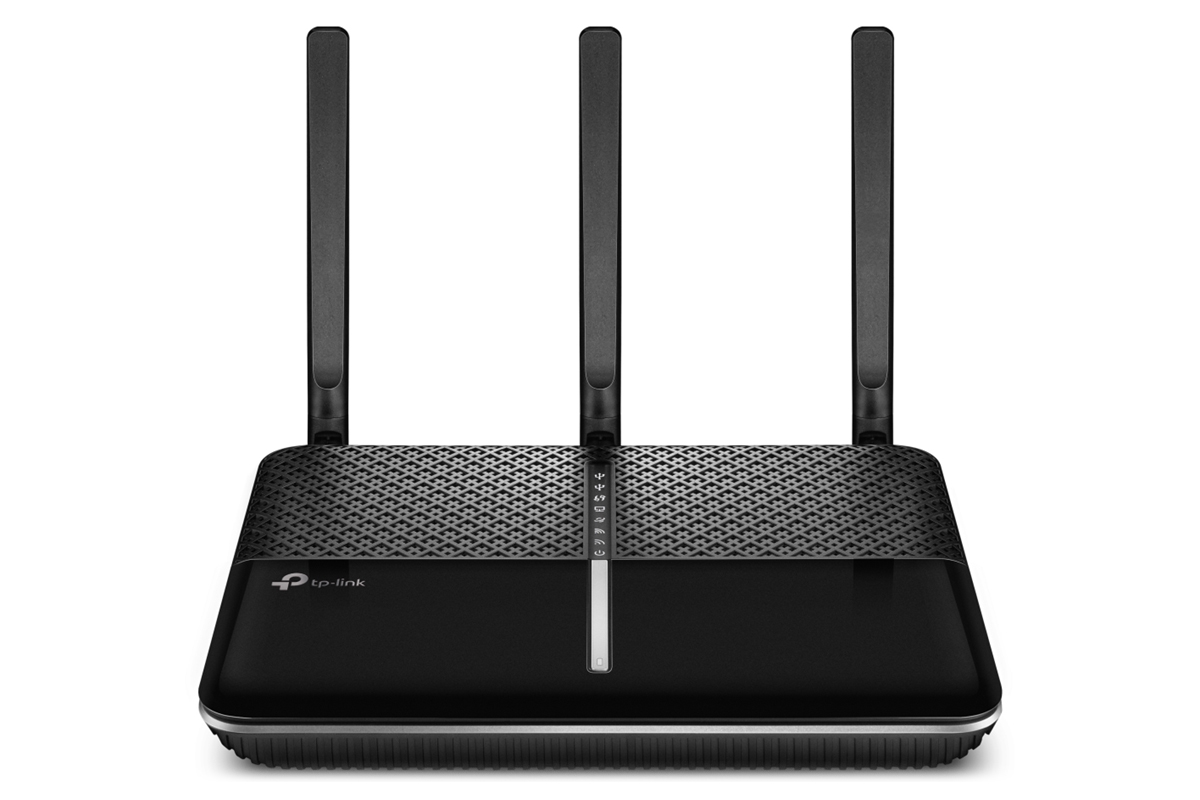
There are lots of wireless options that can cure network hiccups. If you have a large home, and Wi-Fi coverage is weak in certain areas, one option is a new Wi-Fi router. If you’re getting a new router, don’t cheap out on a basic 802.11n model. Look for a router that supports the faster, more robust 802.11ac protocol. Premium routers, such as TP-Link’s Archer C2300 ($150, rated Best Overall on Tom’s Hardware), have multiple antennas to direct signals to several different areas in your home, beam-forming technology that directs signals to the devices that most need high throughput, sophisticated modulation techniques that squeeze more data into the available spectrum, and quality-of-service software that prioritizes network traffic for the devices that most need it.
If you’re changing your router, you may have to do some preparatory work with your ISP. Many ISPs provide terminals that combine a Wi-Fi router and Internet gateway in one component. If you have one of these, and want to use your own router (there are lots of reasons for doing this), you’ll have to disable the Wi-Fi functionality in the router provided by your ISP and put it in bridge mode. This involves entering the IP address for your current router (it’ll be something like http://192.168.0.1) in the address line of a Web browser on a computer connected to your home network, keying in the username and password for the router’s admin functions, and selecting menu options to turn the Wi-Fi feature off. You’ll almost certainly need your ISP’s tech-support people to talk you through this.
If you get Internet service from a telco, it probably uses a protocol called digital subscriber loop (DSL). With DSL, you need login information (a username or phone number, plus a password) to connect to the Internet. That information is stored in the router you’re currently using, but it may be grayed out to keep it from prying eyes. Unless you’ve written it down somewhere, you’ll have to get on the phone with your ISP to obtain it, so you can program it into your new router during setup.
Another option is a Wi-Fi extender that works with your existing router, receiving and retransmitting signals to broaden coverage. This makes sense only if your router is a fairly new model. There’s little sense extending the range of an old, slow router.
Some extenders plug directly into the wall; others sit on a desktop. Some models let you use the same network name or service set identifier (SSID) for both the main and extended networks; other models require you to set a different SSID for the extended network. A single SSID will make it easier to stay connected on a mobile device as you move through the home -- but different SSIDs let you configure your devices to log in to the stronger network.
To simplify setup and trouble-shooting, it’s also a good idea to use a Wi-Fi extender of the same brand as your router, and with the same speed rating. Finally, place the extender in a place where it gets a strong signal from the router, and can deliver a strong signal to the area you’re trying to serve.
Cast a wide net
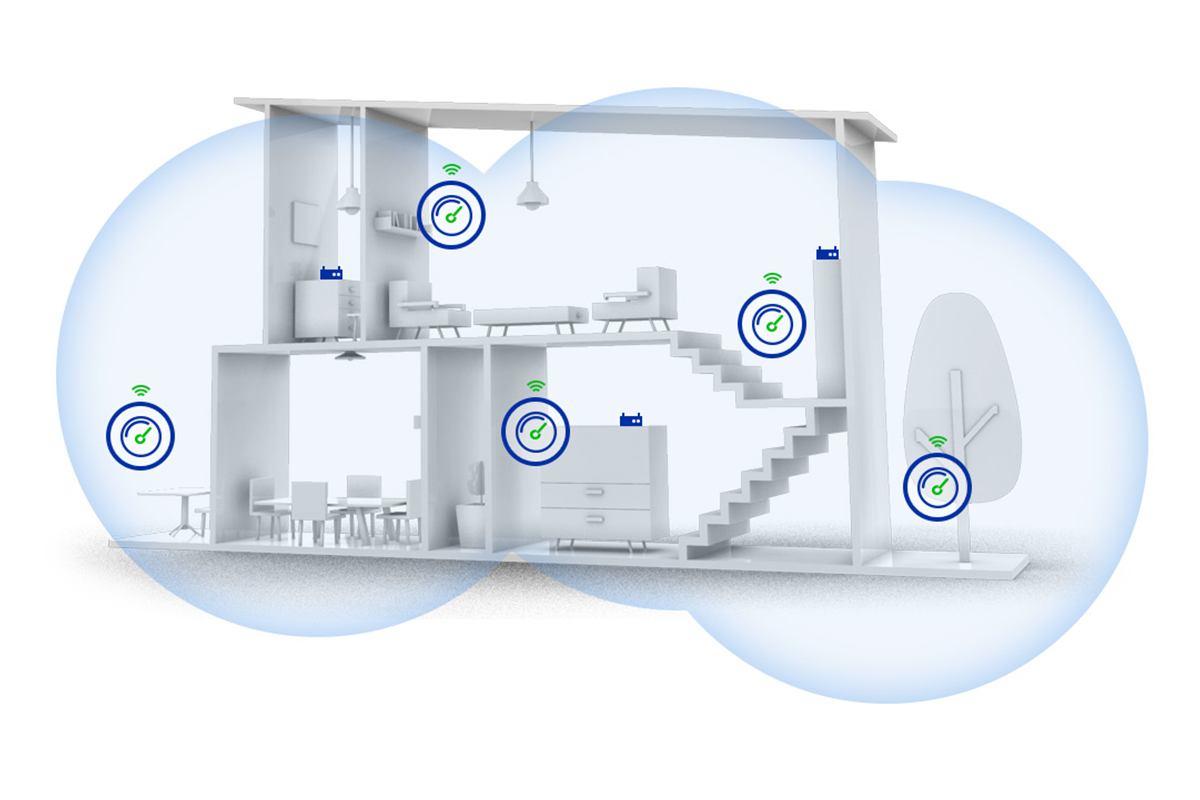
The simplest way to blanket your home with Wi-Fi is with a mesh networking kit. Available from such brands as Asus, D-Link, Google, Linksys, Netgear, Samsung, and TP-Link, these kits consist of a router that you attach to your Internet modem with an Ethernet cable, and wireless access points that you distribute through your home to provide network coverage wherever it’s needed.
As the term implies, all access points in a mesh network communicate not only with the main router but with each other. Along with beam-forming technology, mesh networks have built-in intelligence that automatically selects the clearest channel, nearest access point, and fastest radio band for each device on the network.
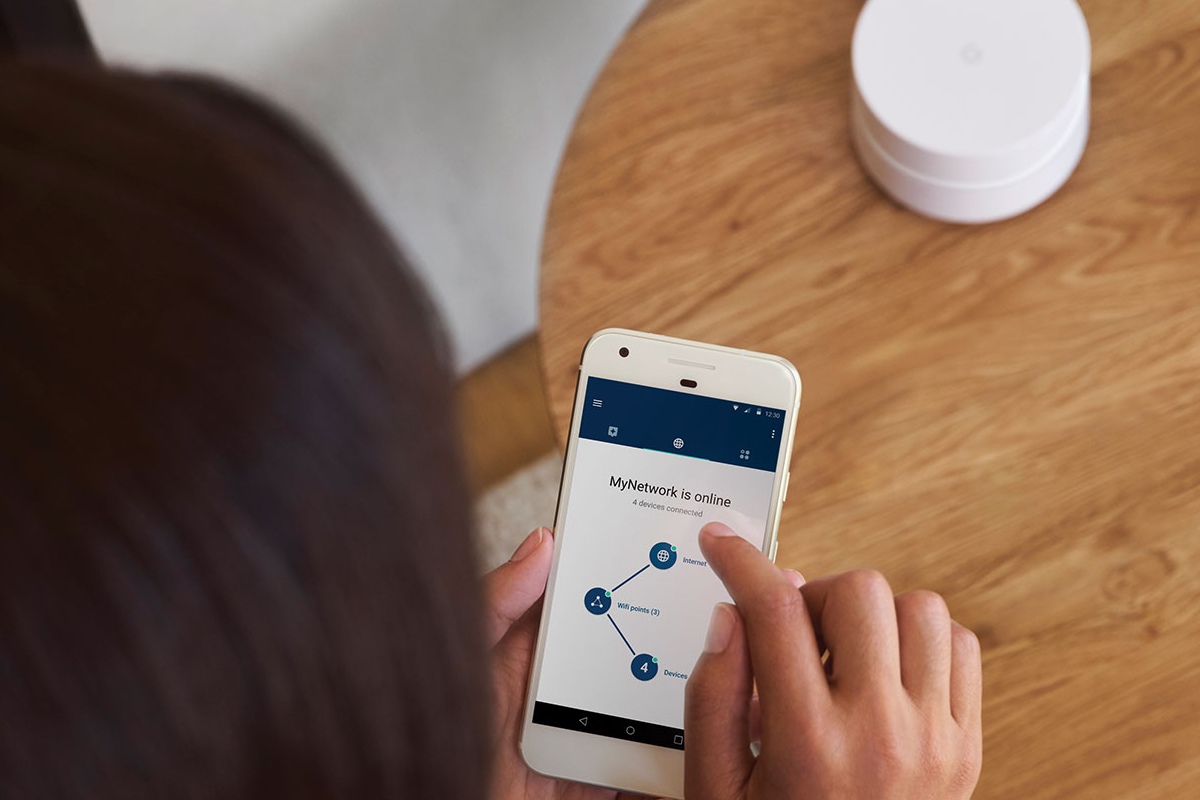
Some systems, such as Netgear’s Orbi, use a dedicated base station that connects to the router and communicates wirelessly with access points throughout your home. Others, such as the Google Wifi system I installed in my home last summer, use identical modules for the central node and remote access points.
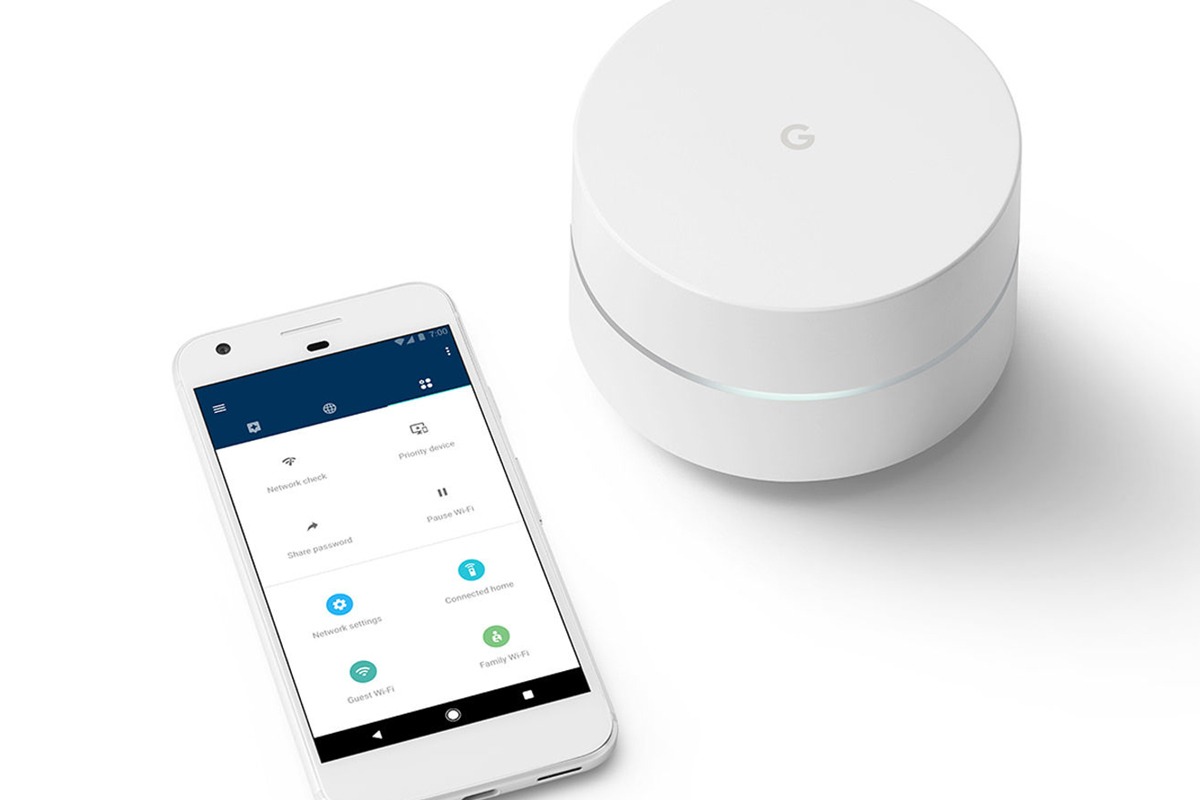
Google Wifi is available in a pack of three modules for $279, or a single module for $129. I chose this system based on online reviews, which highlighted its ease of setup. Like other mesh networking systems, Google Wifi eschews the browser-based interface that routers have traditionally used, in favor of an easy-to-use app that runs on iOS and Android.
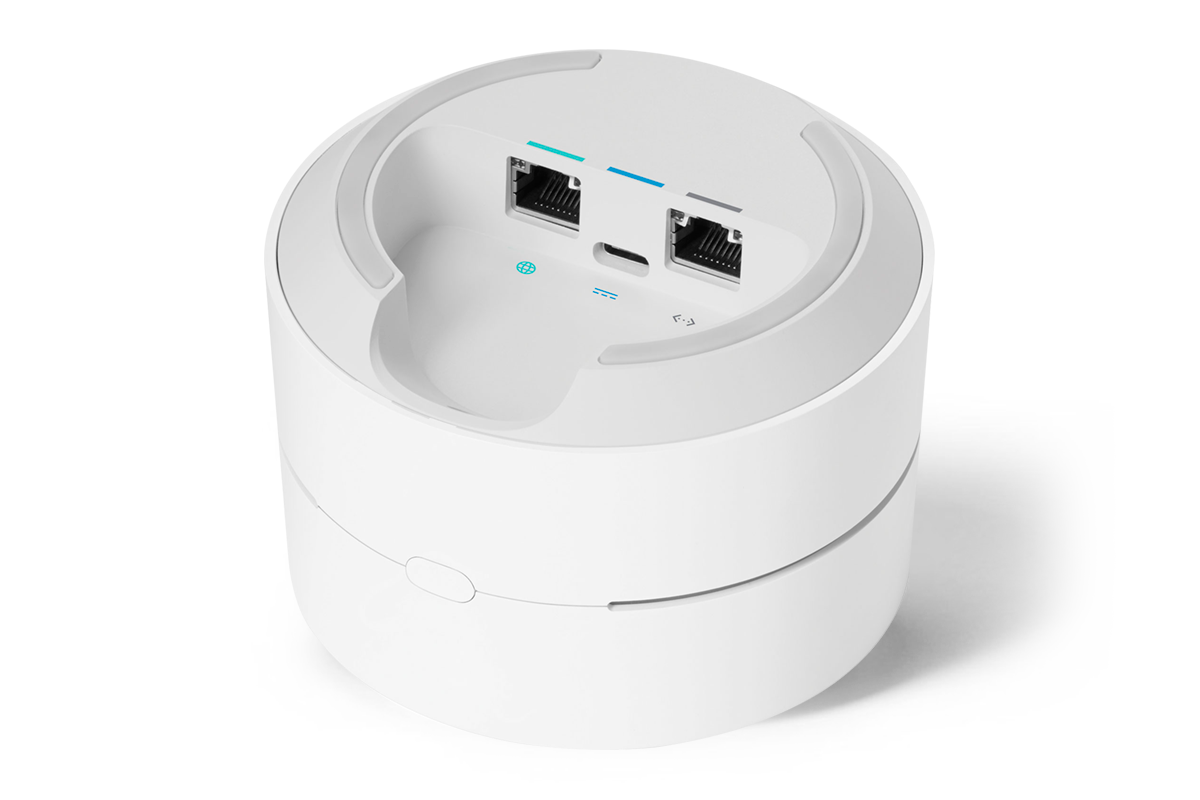
Each disc-shaped module is 4” in diameter and just under 3” high. Recessed into the bottom are two Gigabit Ethernet ports and a USB-C port for the supplied power adapter. The first things to do are to run the supplied Ethernet cable from the wide-area network (WAN) port (it’s the port with the little globe icon) to your Internet modem, and then connect the power adapter.
Next, download the free Google Wifi app from Apple’s App Store or Google Play. When you launch the app, you’ll be asked to log in to your Google account (if you’re not logged in already). If you use Gmail or have made purchases from Google Play, you already have a Google account. If you don’t have an account, you’ll have to sign up to proceed with installation.
The app will automatically find your Google Wifi adapter, then prompt you to scan a QR code on the bottom of the device. Next, the app will ask you to select a name for its location (e.g., office, den), and choose a network name (SSID) and password. If you’re replacing an older router, it’s a good idea to use the same SSID and password as your old network. That way, devices will be able to connect to your new network when you’re finished. If you use a new network name and password, you’ll have to enter that information on all the devices that connect to your network.
Next, the app will ask if you want to set up more Google Wifi access points, and if so, how many. Then you connect a module to a wall outlet, and specify its location in the app. The app will test the signal strength and, if it’s not adequate, prompt you to move the module to a better location. When you’re done, the app tests your entire network and downloads the latest software. You can further expand your mesh network later by adding another Google Wifi point, then use the app to add it to your network.
Other features of the app include parental controls that let you set time limits on children’s devices and block inappropriate sites, and a Guest Wi-Fi function that provides Internet access to visitors to your home. For media applications, the Priority Device function can be very helpful. This lets you prioritize Internet traffic for a specific device for a set period -- useful if you want to stream a movie in 4K, or stream 24-bit/96kHz high-resolution audio.
Another feature of Google Wifi that I find very useful is Network Check, which tests your Internet speed, the connection between your access points, and the network speed to each device on your network. When I ran into some unexpected hiccups using Roon to play hi-rez audio through Pro-Ject’s Stream Box S2 Ultra, which I’ve just reviewed, the Google Wifi app confirmed that network speed to the streamer was slower than ideal. This was very helpful in troubleshooting the issue.
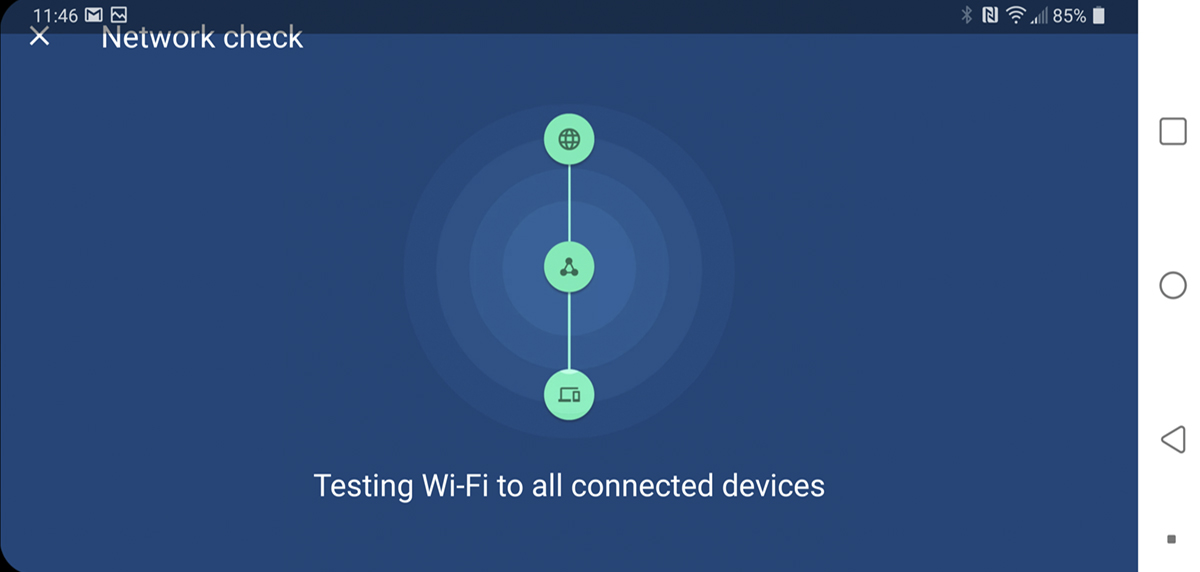
What I ended up doing was hardwiring the Stream Box to an Ethernet port on a nearby Google Wifi module. I used the same feature to connect to my network the Bluesound Vault 2i, which I’m in the process of reviewing. The Vault 2i doesn’t have Wi-Fi, but by hardwiring it to a Google Wifi module I was able to use it with the music system in my main-floor living room.
Google Wifi isn’t the fastest mesh-networking system out there, but it’s plenty fast enough for music and video. And connectivity is minimal. It’d be nice to have a USB port, so that one could attach a printer or USB drive for network-wide access. And it would be nice to have an extra Ethernet port in my office.
Google Wifi makes up for these minor shortcomings through its reliable performance, ease of setup, and useful features. It took me about half an hour to install a three-point network, with no unpleasant surprises along the way. The network has been rock-solid ever since, providing good coverage and speedy performance throughout our home. I think of it as Simplifi’d Wi-Fi for my Simplifi’d hi-fi.
. . . Gordon Brockhouse